VHS To DVD: Do It Yourself Process
Guide to Copying VHS Movies to DVD
Remember back in the day when VCR’s came out, and were able to play movies as you wish on VHS? These cassettes really changed the face of how we watched film at home. Not only that, but VHS camcorders became all the rage, allowing people to capture any life event as they pleased. No longer did people have to fumble with pesky Super 8 formats. VHS was not only more reliable, but a lot more convenient too.
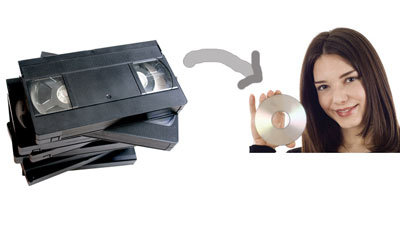
But since then, CD’s and DVD’s have taken over, leaving VHS tapes totally obsolete. Unfortunately, you might be stuck with all sorts of family memories on your VHS cassettes. The good news is, they can easily be copied onto DVD format for you to enjoy a digital version of your recordings.
Here is a simple guide to transferring your recordings from VHS onto DVD
Step 1: Prepare Your VCR
Even though DVD images are crisper compared to what was on VHS, copying onto DVD will not improve video quality. For this reason, you need to make sure that the VCR you’re using can give you the clearest video signal possible during playback.
Make sure to clean the heads of the VCR machine with a head-cleaner cassette, then blow the tray with a can of compressed air. Get yourself a set of good quality RCA audio video cables for your VCR to make sure the quality of the video isn’t compromised because of bad signal-to-noise ratios. The cleaner the video signal from the VCR, the crisper the image when you transfer onto DVD format.
Step 2: Record VHS With Your Computer
You might not have a computer that features a port to connect a VCR directly, but connecting a VCR and importing a video to your computer can still be done by using a USB video capture tool. When connecting a USB capture device, you are then able to stream video from the VCR directly onto a computer and record it with the software included with the device you choose. You’ll usually find RCA ports for audio and video on USB capture devices. There are bunch of info online. The one that we use is listed here for all of our analog to digital conversion.
Once you’ve connected the VCR to the USB capture device, you can grab the video from the cassette by pressing “play” on the player and clicking “capture” or “record” in the capture application. The application will then record the video and save it in the specific format that can be burned onto a DVD.
Step 3: Realtime DVD recorders
An easier method to copying video from VHS is by using a DVD recorders. DVD recorders are similar to computer DVD burners – they can record video onto a blank disc. Professional DVD recorders cost $2000.00 and up.
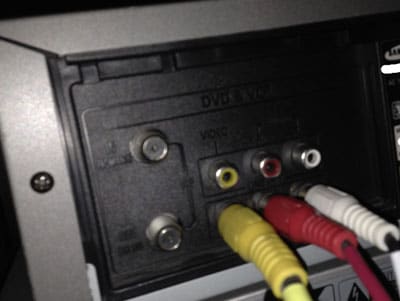
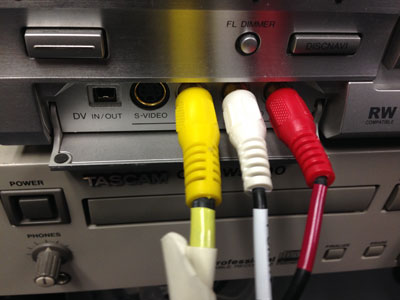
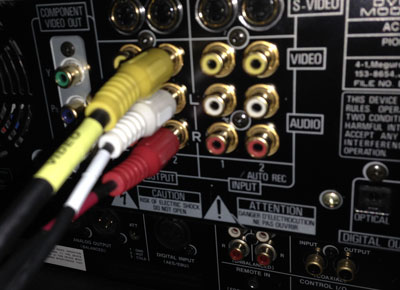
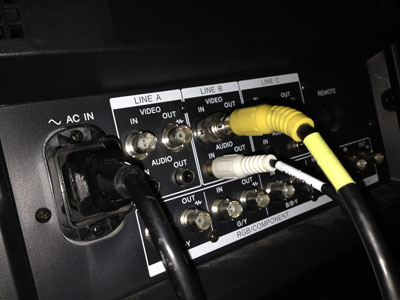
- Step 1: Connect VCR’s out by using red, white and yellow cable as shown in the picture.
- Step 2: Connect the other end of the cable (Red, White Yellow) to the INPUTS of the DVD recorder.
- Step 3: Make sure the display panel on the DVD recorder is selected to the correct input as they come with several inputs.
- Step 4: Connect the out put from the DVD player to the monitor (TV) input. And switch the TV to the correct input.
- Step 5: If you can see the video on the monitor when you play the VCR, its means you have connected it correctly.
- Step 6: Just follow the manufacturer’s recording procedure and don’t forget to finalize the tape at the end.
Realtime players require DVD finalization. Make sure you do that.

