
Flawless Transfer | Guaranteed
ALL JOBS ARE DONE IN HOUSE
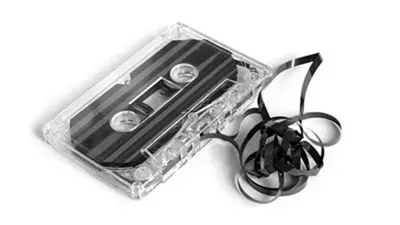
Flawless Cassette To CD Transfers:
We can transfer your audio cassettes straight on to CDs or we can edit and pass it through our audio sweetening suite
to restore the lost quality for additional cost. Trained technician at Mr. Video will handle your jobs professionally from
start to finish. (Audio sweetening is $125.00/hr. Minimum is $125.00)
We can create your CDs either straight as one track or several tracks. We have a quantity discount for more than 5 CDs.
The Cost?
- 60 minute audio cassette to CD=$250 (without tracks)
- 90 minute audio cassette to CD=$295 (without tracks. CD style)
- 120 minute audio cassette to CD= $349 (without tracks)
*Add $49.95 in the above price if the CD master is required with tracks
Remember: One CD can hold up to 80 minute of audio cassette. If you have a 90 minute of tape, you will get 2 CDs, one for each side.
Why Should I Do Audio Cassette To CD Transfer?
Hiss Crackle & Pops
Use our removal service to master cassettes to CDs.
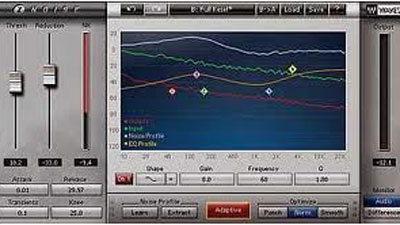
We all can agree, the warmth of analog audio is soothing to the ear but, if there's too much?....
Through our specialized digital audio software, we can eliminate much of the unwanted audio for the most enjoyable listening experience possible.

Turn Around
TURNAROUND?
It usually takes a day to finish your job. If you have 5 or more cassettes , it could take 2-3 working days to finish. You will be notified via email (don’t forget to give your email).
Once the project is ready, we inform you (email or phone) with the itemized total amount. As soon as we receive the payment (Visa, MC, Amex, Discover, debit), we send your project out at the address you have specified.
Need A Few Extra Copies?
We provide CD duplications for your project. It's always great to keep a few extras for the family, or even just to keep a spare in safe keeping. We do all duplications in house, Never outsourced.
Single CD duplication = $15.00 each
Three CD duplications = $12.00 each
Five CD duplications = $10.00 each
*Call us for larger quantities.
Transfer Process
TRANSFER PROCESS? Cassettes can be transferred into any medium of your choice: WAVE, MP3 or CD format (CDA) all at the same price. We can label your CDs with customized labels (e.g. Author, Album and individual CD tracks for extra cost. Generic white CD label= Free (B/W with our company logo) Author and Album name only=$5.00 (B/W) Author and Album name only=$5.00 (B/W) CD tracks (You email us all the tracks)=$5.00 (B/W)
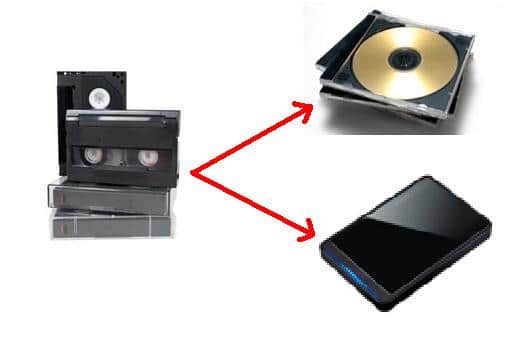
HOW TO CONVERT AUDIO CASSETTES TO CD’S OR MP3 FILES
Audio Cassettes to CDs/MP3 Files
If you’re like many others, you probably have a stack of old cassettes sitting around collecting dust that you never listen to anymore simply because they’re inconvenient to play. But the thing is, these are very important to you. They may hold a number of childhood or family memories that you just can’t part with.
Under such circumstances, you might want to consider converting them onto CDs or MP3 files.
Here are the items you’ll need to get started:
✓ Tape deck
✓ A cable with a male 3.5 mm stereo audio plug two male RCA plugs
✓ A sound card
✓ Editing software and audio recording
✓ A download of LAME, an MP3 encoder
✓ A download of Audacity, an editing software
The tape deck should be cleaned before connecting it to your computer. You might also consider fine-tuning it first as well.
Connect Your Tape Deck to the Computer
You can easily connect your tape deck to your PC by connecting its 2 outputs to the computer’s “line in” (blue) input at the panel at the back of the computer. To do this, start by finding the connectors marked “line out” at the back of the tape deck. Install both RCA connectors from the cable to the female connectors. Check out the back panel of the computer, and find the “line in” connector (light blue). Then connect the 3.5 mm connector into the “line in” jack from your computer.
Your tape deck is now connected, and you are now ready to transfer to audio from your cassette tape to your computer.
Setting Up Your Computer
Download the editing software Audacity. Once this download is complete, close Audacity, and download/install LAME. Now you can launch Audacity editing software.
Choose the right audio source, which can be done by choosing “Line In” on the drop down.
Click on the triangle close to the microphone icon, and choose “Start Monitoring”. The “line in” input level will now have to be adjusted in order for the sound not to be so high or low. To do this, head to Control Panel, Hardware and Sound, and Manage Audio Devices. A window will appear, where you will click on the “Recording” tab.
Choose “Line In” and then click the “Properties” button. When the new window appears, ensure that “Device Usage” is set to “Use this device (enable)”. After clicking on the “Levels” tab, you’ll see a new screen where the tape deck’s input level will then be adjusted. Leave the window open.
After connecting the tape deck to an AC outlet, press “play” on the deck. Keep pressing “forward” or “rewind” until you get to the part you want to record. Pay attention to Audacity’s record level indicator.
The last adjustment you’ll need to make is enabling Dolby Noise Reduction. Listen to the audio program, with Dolby Noise Reduction enabled, and identify whether or not the quality improved without a background white noise.
Now you’re ready to set your system up to transfer audio from your cassette to you computer.
Transferring Audio to Your Computer
First rewind the cassette to the part on the program that’s just slightly before that part that you want to transfer. Click “Record” on Audacity, and “play” on your tape deck. Audacity should now be recording the tape’s contents on digital format. Click “stop” on Audacity when the part of the tape that you want converted is done.
You can save this digital file of your tape in a digital format by going to File, then Export function. It’s easiest and safest to save it as an Audacity project for now. Click “play” to listen to your file to see if you are satisfied with the results.
When you’re finished editing, head over to File, Export, and save it either as a WAV file to develop an audio CD to get the highest level of quality. An audio CD burning program will be needed if you want to make an audio CD.
That’s it! Good luck transferring your cassette tapes to CD and MP3 files!